Clark Library Audio Visual Equipment
The following page is “under construction”
Lectures and conferences at the Clark Library are held in the building’s elegant, wood-paneled drawing/music room. Our sophisticated Audio-Visual installation provides everything technical that is needed for lectures and conferences, in addition to a full HD “television” studio. This “ClarkTV” equipment allows us to stream our events to YouTube.
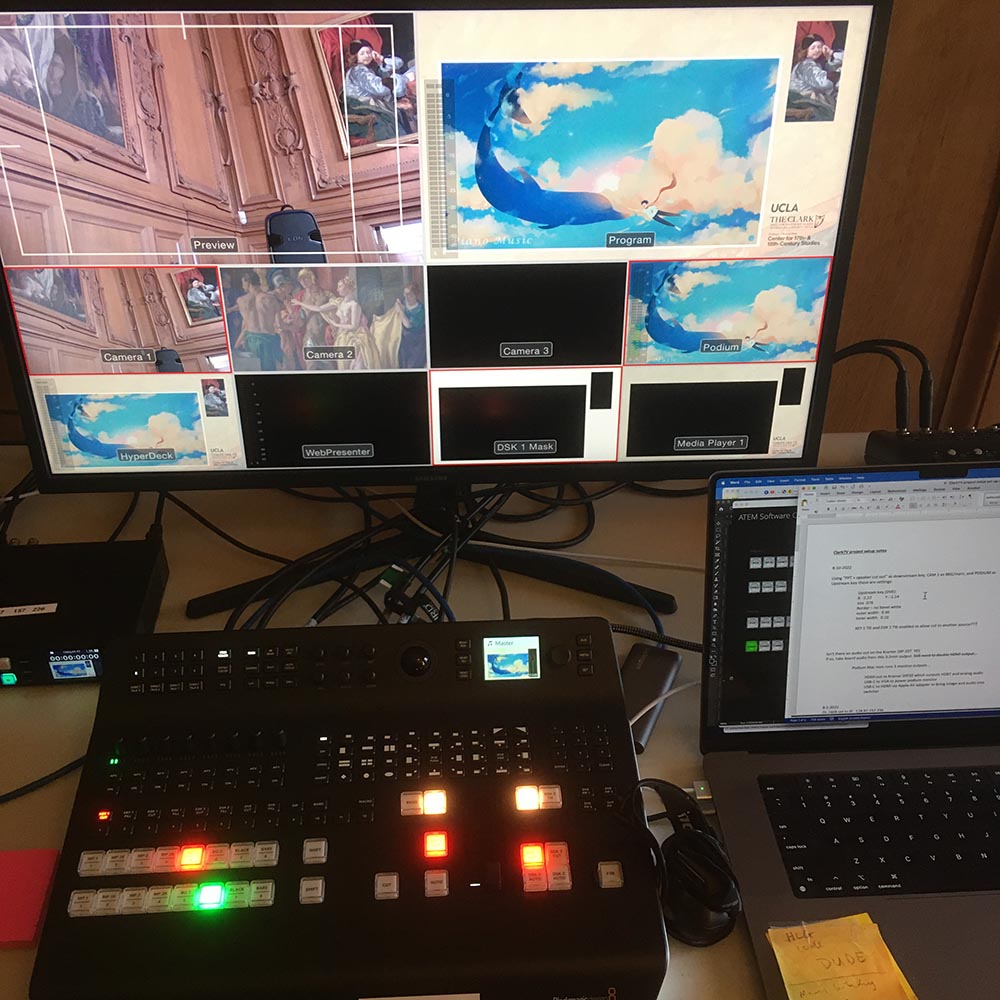
Clark TV HD Switcher
Presenting at the Clark will be very similar to any other venue but a few key points help ensure we provide the best possible program for both our in-person attendees and our online audience.
- In any live broadcast situation, the schedule is key. Keeping talks and discussions tightly on schedule will help online audiences follow along with the program.
- Presenters need to be microphone aware throughout their talks and during discussion sessions. Make sure you are speaking into a microphone every time you talk. Staff will be available to orient you on our microphones upon your arrival at the Clark.
- The slideshows/presentations and multi-media elements of your talks need to be optimized for both the in-person and livestream audiences, and presented on our podium computer. (more on this below)
Here are the technical requirements for PowerPoints/Slideshows:
- PowerPoint is our preferred presentation application, but we can accommodate other software some with limited support.
- Slides should be formatted for the full HD video frame–1920×1080 pixels. This is a rectangular format in a 16:9 aspect ratio.
- Our screen and projector look wonderful from a distance but actually resolve only about 18ppi, consequently any image resolution beyond 150dpi is wasted. Super high-resolution archival images serve only to bloat your file size and make live conversion more difficult for our equipment.
- The Clark’s drawing room is over 50 feet deep, and online viewers may be watching on screens as small as a mobile phone. Consequently, a minimum font size of 18-24pt is recommended for all text.
- All slides should keep their important content within a 5-10% outer border. Please do not use edge-to-edge text or images as cropping will occur on all outer edges of your slide at the projector.
All Clark equipment is maintained by technologist, Alastair Thorne. Please contact him directly with any technical questions at alastair@humnet.ucla.edu.
Alastair will be happy to test your presentations on our equipment if they are sent to him at least two weeks in advance of the event at which you are speaking.
Front of House Equipment List
- amplified audio system (Jbl 515xt x2)
- wireless lavaliere microphone (atw-t310)
- wireless handheld microphone (atw-t341b & atw-t341)
- traditional wired handheld microphones (x1)
- wired boundary/table microphones (u891rx x2)
- wireless mic receivers (atw-r310 & atw-r3100d)
- integrated smart podium including a 2018 Mac Mini (running Mac OSX 12.51), 16:9 screen running at 1080×1920, and a podium microphone.
- Epson Pro G7905 LCD digital projector (1920 x 1200 native resolution, 16:10 aspect ratio)
- High gain motorized projection screen 66″ x 106″ (16:10, 125″ diagonal)
- Kensington presentation remote control with integrated laser pointer and USB key drive
Intended Uses
- PowerPoint presentations (v 16.64), Keynote presentations (v 12.1), web-based presentations, pdf files via Apple Preview app, website display, etc.
Hints & Tips
PowerPoint Presentations
- If you plan on using audio in your presentation (music, video, sound effects, recorded spoken word etc.) please let us know at least 2 weeks before your presentation. [We need to do special wiring for these situations.]
- Please bring your PowerPoint presentations on a USB keydrive and have a copy in the cloud as a backup.
- Compress your pictures and resize them before putting them into your presentation or use PowerPoint’s “Compress Pictures” function .
- If your presentation was created using standard fonts, text generated directly in PowerPoint, and digital photographs, it is very unlikely that you will encounter any compatibility problems.
- Try to avoid placing text or images against the very edges of your slides. It’s a good idea to allow a 5–10% margin on all sides of a slide to accommodate different projection settings in different venues.
- If your presentation contains linked or embedded elements from other programs’ unusual or premium fonts (e.g. musical notation, Sanskrit, Adobe Pro fonts, etc.), audio and video clips there is a small chance you may encounter some compatibility problems.
- Make sure you bring separate copies of all the files used in your presentation as a safeguard (this is particularly imperative when using music and video clips).
- Taking care to align your images and text-boxes consistently will avoid the appearance of pictures and text “hopping” around the screen as you move from slide to slide.
- Our equipment uses PowerPoint 16 and Keynote 9 (both are backward compatible with earlier versions).
- One of the most effective means to incorporate audio and/or video in your presentation is to include clips directly into your PowerPoint presentations. This preparation avoids shuffling between equipment during your presentations and allows exact clips to be played. You can find very helpful tips regarding audio and PowerPoint here, and similar tips regarding video and PowerPoint here.
- Controlling media with our keyboard’s touchpad while presenting can be confusing. The following trick allows you to start and stop your media by simply advancing slides.
- When you create a slide with embedded media in it, duplicate the slide twice (right click on slide and select “duplicate slide”). You should now have three copies of your media slide.
- Delete the media element from copy #1 and copy #3.
- Set the media on slide #2 to play automatically.
- Now when you advance to slide copy #1, the audience sees your text/pictures but no music (or video) yet; then you advance to copy #2, and the music starts (but the text/image doesn’t noticeably change). When you advance to copy #3, the music stops.
N.B. This trick only works with simple static slides (i.e., it won’t work with animated bullet lists, etc.). (If you want to play multiple media clips over the same text/image just create more copies.)